When AI meets Art – Neural Style Transfer with magenta.js
When humans and machines collaborate, we can produce things that beyond our imagination. The intersection of art and AI is an area that I find really exciting. Neural Style Transfer is one of the most amazing applications of Artificial Intelligence in a creative context.
Deep Learning made it possible to capture the content of one image and combine it with the style of another image. This technique is called Neural Style Transfer.
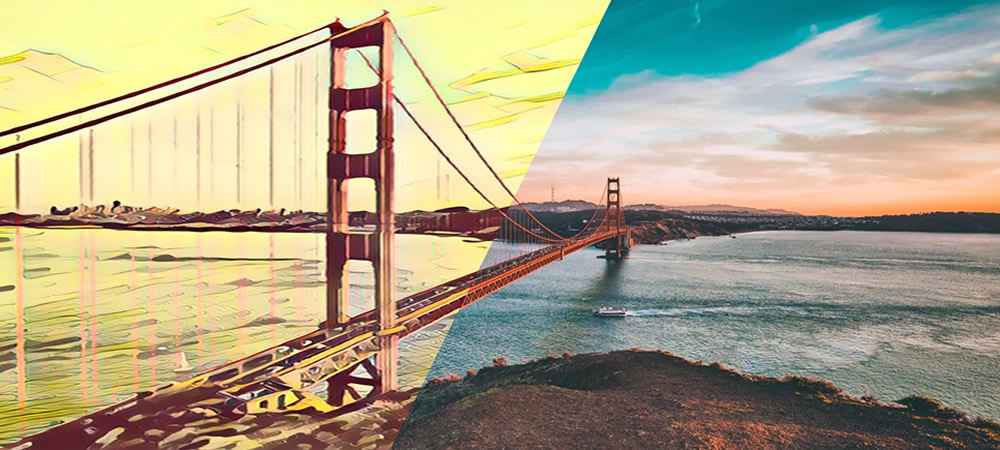
Artistic style transfer demo
GitHub repository
You can download the complete code of the above demo in the link below:
Artistic neural style transfer is an optimization technique used to take two images—a content image and a style reference image (such as an artwork by a famous painter)—and blend them together so the output image looks like the content image, but “painted” in the style of the style reference image.
Implementation
Do you like the new artwork that AI generated? Are you curious about how it works behind the scenes? Alright, let’s explore more in this post.
It is using a technique called Neural style transfer. It is an optimization technique used to take two images – a content image and a style reference image (such as an artwork by a famous painter), and blend them together so the output image looks like the content image, but “painted” in the style of the style reference image.
This is implemented by optimizing the output image to match the content statistics of the content image and the style statistics of the style reference image. These statistics are extracted from the images using a CNN (Convolutional Neural Network).
If you want to dig down further, you might find Professor Andrew Ng’s tutorial useful
Thanks to Magenta, even you are new to Machine Learning and AI, you can still make music and art powered by AI. Let’s go through step by step how I utilize Magenta.js to implement style transfer.
# Step 1 : Include magentaimage.js
First of all, simply include the script magentaimage.js or the minified version magentaimage.min.js in the <head> section of the html file.
<html>
  <head>
    <script src="https://cdn.jsdelivr.net/npm/@magenta/image@0.2.1/dist/magentaimage.min.js"></script>
  </head>
If you are using npm, you can also install it by running the command below
npm i @magenta/image
# Step 2 : Set up html element
The next thing we will need to do is to add the html elements below
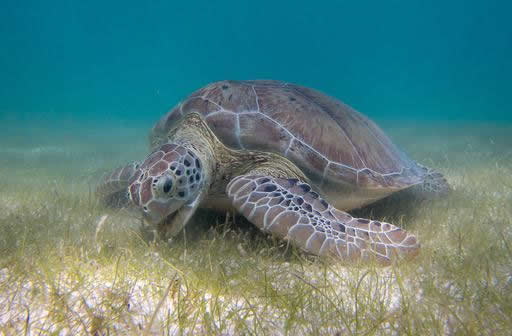
- Content image
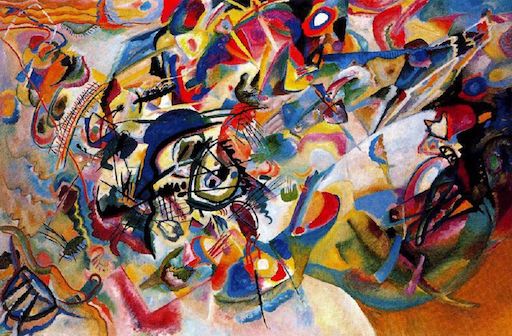
- Style image
- Transfer button
- Canvas for the combined image
<img id="contentImg" src="images/turtle.jpg"/>

<img id="styleImg" src="images/kadinsky.jpg"/>

<button  class="btn btn-transfer">
    i class="fas fa-random"></i>
    <span>Click to transfer</span>
</button>

<canvas id="stylized"></canvas>
# Step 3 : Initialize javascript variables
const model = new mi.ArbitraryStyleTransferNetwork();
const canvas = document.getElementById('stylized');
const ctx = canvas.getContext('2d');
const contentImg = document.getElementById('contentImg');
const styleImg = document.getElementById('styleImg');
# Step 4 : Run the stylize function
When the Transfer button is clicked, call the library’s initialize() and stylize() API
$(".btn-transfer").click(function () {
  model.initialize().then(() => {
    stylize();
  });
});

async function stylize() {
  await clearCanvas();

  // Resize the canvas to be the same size as the source image.
  canvas.width = contentImg.width;
  canvas.height = contentImg.height;

  // This does all the work!
  model.stylize(contentImg, styleImg).then((imageData) => {
    ctx.putImageData(imageData, 0, 0);
  });
}
That’s pretty much it! Other than that are just making the demo look nice. Choose your own photo and style, and watch the amazing artwork comes like magic!
Conclusion
Magenta is a research project exploring the role of machine learning in the process of creating art and music, and it is build on top of TensorFlow. If you are exciting about what comes up when AI meets Art, I strongly recommend you to check out their website magenta.tensorflow.org which have more examples that you can play with.
Thank you for reading. If you like this article, please share on Facebook or Twitter. Let me know in the comment if you have any questions. Follow me on Medium, GitHub and Linkedin. Support me on Ko-fi.