Color Tracking with tracking.js
Tracking.js is a Javascript library for computer vision, you can use it to do color tracking, face detection, and more in the browser.
Color has been widely used in machine-based vision systems for tasks such as image segmentation, object recognition and tracking. Today, let’s explore how to build an application that can detect color objects in an image.
Color tracking demo
 Click to pick color from image
GitHub repository
You can download the complete code of the above demo in the link below:
Implementation
This is one of the easiest computer vision libraries to use and you can start doing creative things with it. Please follow me below to go through step by step how to build this color tracking application with tracking.js.
# Step 1 : Include tracking.js
First of all clone or download the tracking.js repository from GitHub
git clone https://github.com/eduardolundgren/tracking.js.git
If you are using npm, you can also install it by running the command below
npm install tracking
build folder, simply include the script tracking.js or the minified version tracking-min.js in the <head> section of the html file. In the above demo, I also include the jquery and some other libraries as well. - color-picker – color picker plugin written in pure JavaScript
- rangeslider.js – jQuery polyfill for the range slider element
- broiler.js – jQuery plugin to get the color of an image pixel by click
<html>
<head>
    <link rel="stylesheet" href="https://stackpath.bootstrapcdn.com/bootstrap/4.3.1/css/bootstrap.min.css">
    <link rel="stylesheet" href="style/color-tracking.css">
    <link rel="stylesheet" href="style/color-picker.min.css">
    <link rel="stylesheet" href="style/range-slider.css">
    <script src="https://code.jquery.com/jquery-3.3.1.min.js"></script>
    <script src='js/tracking-min.js'></script>
    <script src='js/color-picker.min.js'></script>
    <script src='js/rangeslider.min.js'></script>
    <script src='js/broiler.js'></script>
</head>
At the end of the <body>, include the main javascript file color-tracking.js
        <script src='js/range-slider.js'></script>
        <script src="js/color-tracking.js"></script>
    </body>
</html>
# Step 2 : Instantiate color tracker
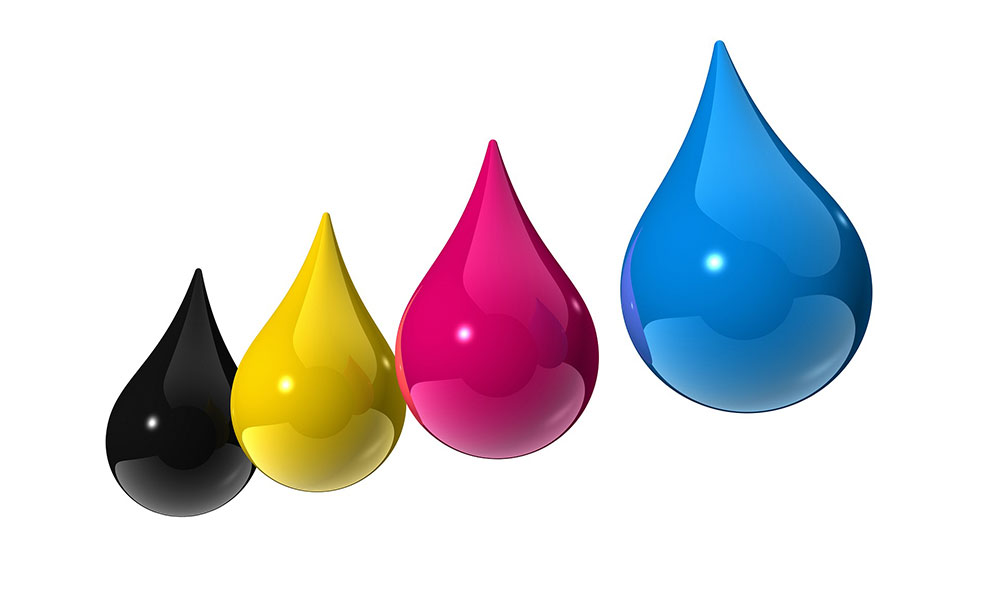
In order to use a color tracker, you need to instantiate the constructor passing the colors to detect. By default tracking.js color tracker provides out of the box three default colors, they are: magenta, cyan and yellow.
var regColors = ['magenta', 'cyan', 'yellow'];
var tracker = new tracking.ColorTracker(regColors);
In addition to those, you can register any custom color you want to track, by calling the tracking.ColorTracker.registerColor API
$("#add-color-button").click(async function () {
    var color = $('#color-picker-selected').css( "background-color" );
    regColors.push(color);
    var t = slider.value;
    tracking.ColorTracker.registerColor(color, function(r, g, b) {
        return getColorDistance(getRGB(color), {r: r, g: g, b: b}) < t
    });
    displayColorList(regColors, 'color-list')
});
function getColorDistance(target, actual) {
    return Math.sqrt(
      (target.r - actual.r) * (target.r - actual.r) +
      (target.g - actual.g) * (target.g - actual.g) +
      (target.b - actual.b) * (target.b - actual.b)
    );
}
Note that the custom function compares the selected custom color to any target color, and returns true if the RGB square root distance between the two is less than the tolerance slider value.
# Step 3 : Listen for track events
By listening to the track event, whenever a color object is detected, it will return the object’s top-left corner (x,y) coordinate, together with the width and height, so that we can draw a bounding box on it.
tracker.on('track', function(event) {
	event.data.forEach(function(rect) {
		drawRect(rect.x, rect.y, rect.width, rect.height, rect.color);
	});
});
function drawRect(x, y, w, h, color){
    var rect = $('<div></div>');
    rect.addClass('rect');
    rect.css({
        border : '2px solid ' + color,
        width : w + 'px',
        height : h + 'px',
        left : (img.offsetLeft + x) + 'px',
        top : (img.offsetTop + y) + 'px'
    });
    $('#image-container').append(rect);
}
# Step 4 : Start tracking
Now the tracker is set up, you are ready to start color tracking the image
tracking.track('#selected-image', tracker);
Conclusion
Simple enough, right? You don’t have to write much code to get things started, and this library can do much more than image. It also support in video or webcam real-time color tracking, face detection. Notice, however, that the library doesn’t do face recognition only detection.
If you are exciting about computer vision in web applications, I strongly recommend you to check out their website trackingjs.com which have more examples that you can play with.
Thank you for reading. If you like this article, please share on Facebook or Twitter. Let me know in the comment if you have any questions. Follow me on Medium, GitHub and Linkedin. Support me on Ko-fi.