Image to Text OCR with Tesseract.js
Are you looking to extract text from images, photos? Did you just take a picture of the lecture notes and want to convert it into text? Then you’ll need an application that can recognize text via OCR (Optical Character Recognition).
Today, I am going to fulfill your long awaited wish, to build a image to text converter with the powerful JavaScript library Tesseract.js
Image to Text demo
GitHub repository
You can download the complete code of the above demo in the link below:
Implementation
Did you just feel like you had discovered the treasure? We could get a scanned image of a book, and use OCR tech to read the image, and output text in a format we can use on a machine. This could drastically improve our productivity, and it avoid duplicate manual entry.
In this tutorial, I’ll show you how to use Tesseract.js to build an OCR web application. Let’s jump straight into the code.
# Step 1 : Include tesseract.js
First of all, we need to include the JavaScript library tesseract.js. The easiest way to include Tesseract.js in your HTML5 page is to use a CDN. So, add the following to the <head> of your webpage.
<html>
  <head>
    <script src='https://unpkg.com/tesseract.js@v2.0.0-alpha.13/dist/tesseract.min.js'></script>
</head>
If you are using npm, you can also install it by running the command below
npm install tesseract.js@next
At the end of the <body>, include the main javascript file tesseract-ocr.js
    <script src="js/tesseract-ocr.js"></script>
  </body>
</html>
# Step 2 : Set up html element
The next thing we will need to do is to add the html elements below
- Language selector
- Image File selector
- Thumbnail preview of image selected
- Placeholder of results after processing
<select id="langsel">
  <option value='eng' selected> English </option>
</select>

<input type="file" id="file-1" class="inputfile" />

<img id="selected-image"  src="" />

<div id="log">
	<span id="startPre">
		<a id="startLink" href="#">Click here to recognize text in the demo</a>
		<br/> or choose your own image
	</span>
</div>
# Step 3 : Initialize And Run Tesseract
Furthermore, we will initialize a TesseractWorker. Then utilize the recognize function. This function runs asynchronously, and returns a TesseractJob object.
You can get the text result inside a callback function, which can be added using the then() method. Additionally, add a callback using the progress() method to monitor the status and progress of the OCR operation.
const worker = new Tesseract.TesseractWorker();
worker.recognize(file, $("#langsel").val())
.progress(function(packet){
	console.info(packet)
	progressUpdate(packet)
})
.then(function(data){
	console.log(data)
	progressUpdate({ status: 'done', data: data })
})
# Step 4 : Display progress and result
Finally, let’s explore the TesseractJob object that get returned, and use it to display the results.
During the processing stage, it return a status string, together with the percentage of the work completed.


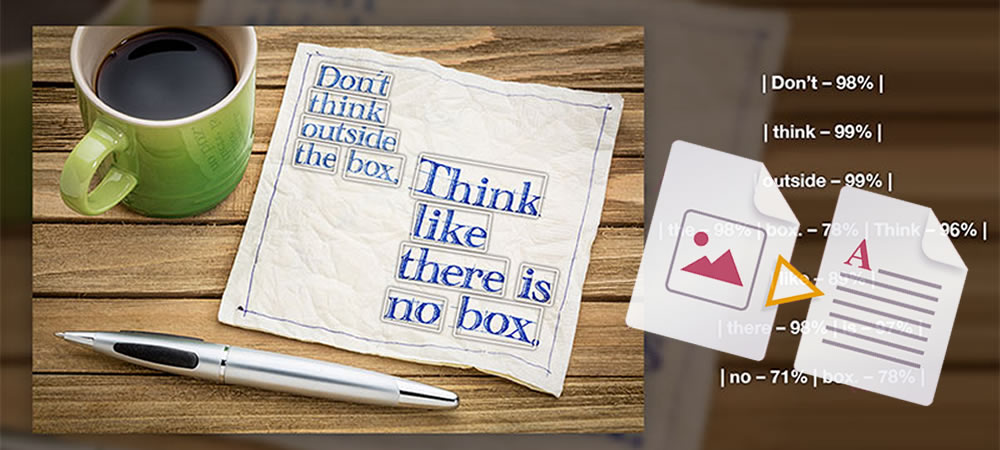
Once the result is returned, it contains a confidence level, the text that extracted from the image. In the array of words, it also include the location of the word inside the image. Now we use below function progressUpdate to display it to the user.
function progressUpdate(packet){
	var log = document.getElementById('log');

	if(log.firstChild && log.firstChild.status === packet.status){
		if('progress' in packet){
			var progress = log.firstChild.querySelector('progress')
			progress.value = packet.progress
		}
	}else{
		var line = document.createElement('div');
		line.status = packet.status;
		var status = document.createElement('div')
		status.className = 'status'
		status.appendChild(document.createTextNode(packet.status))
		line.appendChild(status)

		if('progress' in packet){
			var progress = document.createElement('progress')
			progress.value = packet.progress
			progress.max = 1
			line.appendChild(progress)
		}


		if(packet.status == 'done'){
			log.innerHTML = ''
			var pre = document.createElement('pre')
			pre.appendChild(document.createTextNode(packet.data.text.replace(/\n\s*\n/g, '\n')))
			line.innerHTML = ''
			line.appendChild(pre)
			$(".fas").removeClass('fa-spinner fa-spin')
			$(".fas").addClass('fa-check')
		}

		log.insertBefore(line, log.firstChild)
	}
}
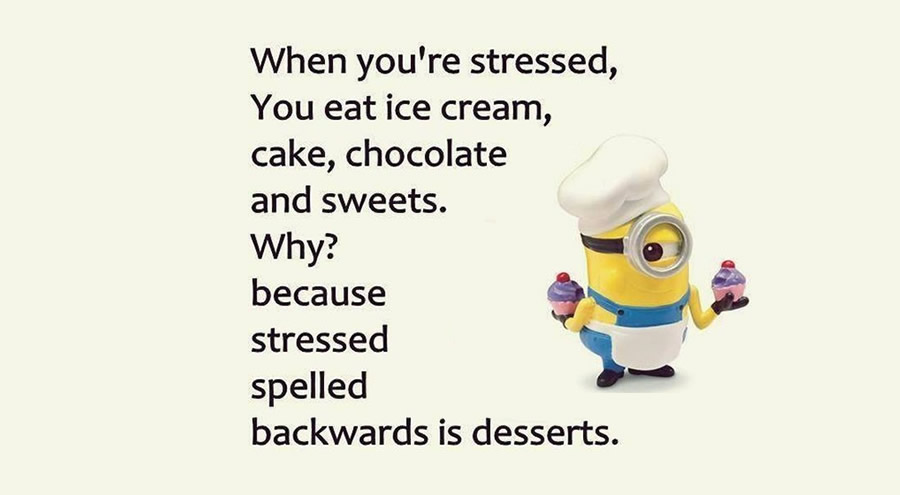
That’s it! Choose your own images with some text in it, and watch the results roll in!
Conclusion
After all, I had done some experiment with different images, and I found some pros and cons about Tesseract.js.
Pros:
- It support multiple languages, checkout a complete list of supporting languages.
- The accuracy is pretty high with normal fonts and clear background
Cons:
- It didn’t work very well with noisy backgrounds
- It get confused by some custom fonts
But still, I think it is a great JavaScript library. It brings the power of OCR to the browser, and opens up a door of opportunities for developers.
I recently published a new article to introduce another OCR JavaScript library Ocrad.js, and compare it with Tesseract.js, feel free to read through it before deciding which one is more suitable for your project.

Thank you for reading. If you like this article, please share on Facebook or Twitter. Let me know in the comment if you have any questions. Follow me on Medium, GitHub and Linkedin. Support me on Ko-fi.
12 Comments
How can i catch the text detected (may be in textarea box) and translate it.
You can integrate with Google Cloud Translate API.
https://cloud.google.com/translate/docs
Wow. Thank you, thank you, thank you very much ^^!
Hello, I have a project to scan more than a thousand employee credentials, I see that your routine can help me with my project, how much would it cost me to be able to acquire a license due to the volume of information
The code has several errors, can you upload it to codepen or to github?
For example in line 3 of the js code you have the error of & amp; & amp;
In the article, I did provide the link of the github repository https://github.com/bensonruan/Tesseract-OCR
How do I get this project to run?
Clone the code from my github repository, set up localhost environment on your machine, and point the root directory of your localhost to the folder cloned, then access it via http://localhost
Hello,
Seems to be fantastic … however I have tried with chrome and edge without success: no text recognition and some messages in console.
how can I use this to read id card and autofill to form
sir how can i use this to read or recognition multiple image ?
Sir, How To Recognition Multiple Image ?