Face Detection JavaScript : Real-Time Mask Application
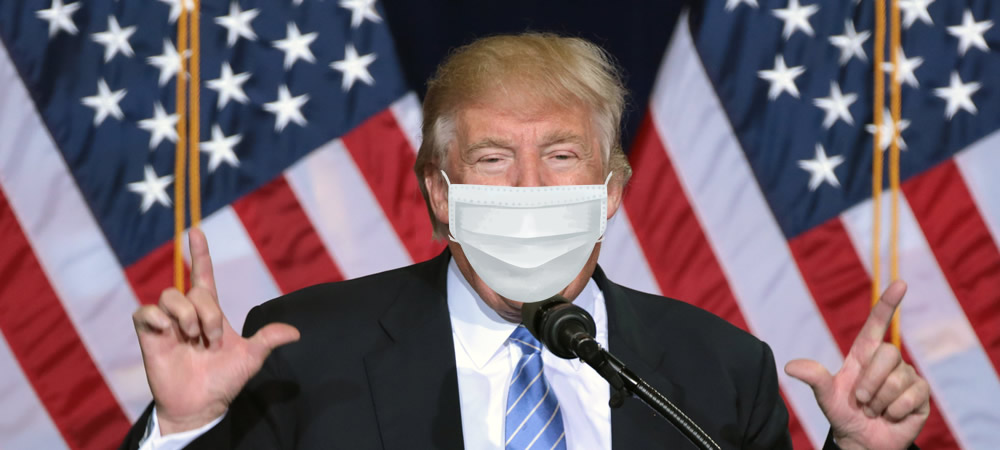
The Centers for Disease Control and Prevention (CDC) recommends wearing masks in public to protect against the coronavirus. Despite this advice, Donald Trump has expressed reluctance to follow it. However, we can leverage the latest face detection javascript technology to encourage Trump to put on a face mask.
Face Detection JavaScript demo


If you are browsing through social media built in browsers, you would need to open the page in Sarafi (iPhone)/ Chrome (Android)
GitHub repository
You can download the complete code of the above demo in the link below:
Utilize tensorflowjs facemesh model.
Implementation
Wearing a face mask is a gesture of concern for one’s community. It prevent the wearer from inadvertently passing the disease along to others. I hope the above demo can help reminding people, it is important to put on a face mask during the pandemic. The virtual face mask utilize an advanced technique called Face Detection, which can identify human faces in an image or video stream.
Tensorflow.js released the MediaPipe Facemesh model in March, it is a lightweight machine learning pipeline predicting 486 3D facial landmarks to infer the approximate surface geometry of a human face. If you are interested in building a face landmark detection app, please follow me below for the journey of how I implemented it.
# Step 1 : Include tfjs and facemesh model
First of all, simply include the script Tensorflow.js and its facemesh model in the <head> section of the html file.
<html>
  <head>
    <script src="https://unpkg.com/@tensorflow/tfjs-core@2.4.0/dist/tf-core.js"></script>
    <script src="https://unpkg.com/@tensorflow/tfjs-converter@2.4.0/dist/tf-converter.js"></script>
    <script src="https://unpkg.com/@tensorflow/tfjs-backend-webgl@2.4.0/dist/tf-backend-webgl.js"></script>
    <script src="https://unpkg.com/@tensorflow-models/face-landmarks-detection@0.0.1/dist/face-landmarks-detection.js"></script>
  </head>
Or you can install it via npm for use in a TypeScript / ES6 project
npm install @tensorflow-models/facemesh

//import in js
const facemesh = require('@tensorflow-models/facemesh');
# Step 2 : HTML image & video element
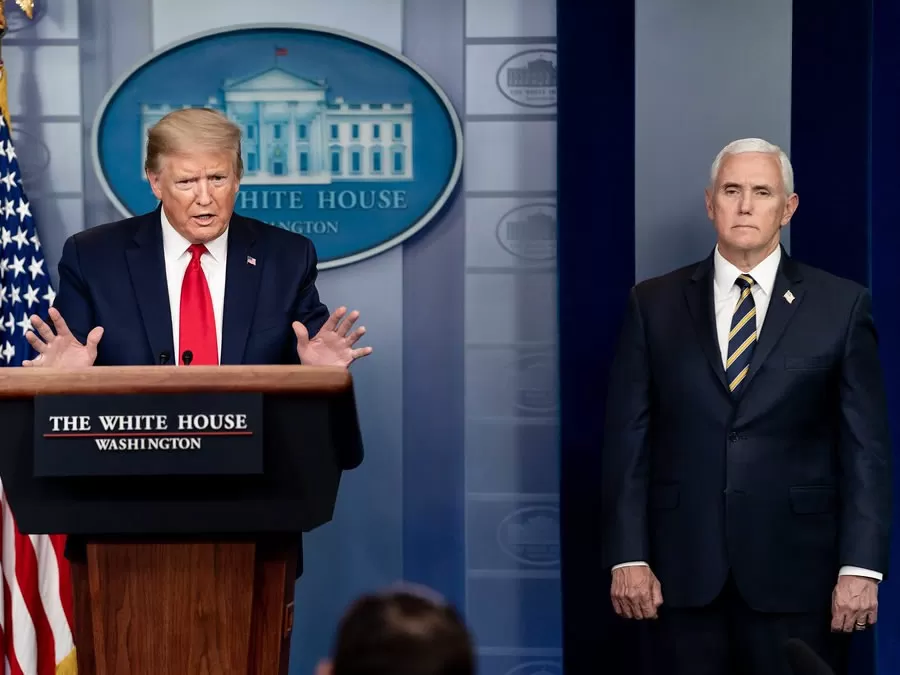
The next thing we will need to do is to add the html <img> or <video> element as the source, so that we can perform face landmark detection on that image or webcam video stream.
<img id="faces" src="images/Donal_Thrump_White_House.jpg">

<video id="webcam" autoplay playsinline width="640" height="480"></video>
To stream your webcam into the browser, I utilize the npm JavaScript module webcam-easy.js, which provides an easy to use module that can access webcam and take photo. To find out more details about that, please refer to my previous blog :

# Step 3 : Load Facemesh Model
In order to perform face landmark detection, we first need to load the pre-trained Facemesh model, by calling the API of faceLandmarksDetection.load(). FaceMesh comes with a few optional parameters of the model:
| parameter | default | description |
|---|---|---|
| package | Which package to load. Current options: mediapipe-facemesh | |
| packageConfig | ||
| shouldLoad IrisModel | true | Whether to load the MediaPipe iris detection model |
| maxContinuous Checks | 5 | How many frames to go without running the bounding box detector. Only relevant if maxFaces > 1 |
| detection Confidence | 0.9 | Threshold for discarding a prediction |
| maxFaces | 10 | The maximum number of faces detected in the input. Should be set to the minimum number for performance |
| iouThreshold | 0.3 | A float representing the threshold for deciding whether boxes overlap too much in non-maximum suppression. Must be between [0, 1] |
| scoreThreshold | 0.75 | A threshold for deciding when to remove boxes based on score in non-maximum suppression |
faceLandmarksDetection.load(faceLandmarksDetection.SupportedPackages.mediapipeFacemesh).then(mdl => {
	model = mdl;
	console.log("model loaded");
	cameraFrame =  detectFaces();
});
# Step 4 : Face Landmark detection javascript
Next, we start to feed the image or webcam stream through the Facemesh model to perform face landmark detection, by calling the API of model.estimateFaces({input}). It takes an input image element (Can be a tensor, DOM element image, video, or canvas) and returns an array of facial landmark key points, bounding boxes and confidence level.
The estimateFaces API comes with a few parameters of the model:
| parameter | default | description |
|---|---|---|
| input | The image to classify. Can be a tensor, DOM element image, video, or canvas. | |
| returnTensors | False | Whether to return tensors as opposed to values |
| flipHorizontal | False | Whether to flip/mirror the facial keypoints horizontally. Should be true for user facing webcam stream |
| predictIrises | True | Whether to return keypoints for the irises. Disabling may improve performance. |
let inputElement = isVideo? webcamElement : imageElement;
let flipHorizontal = isVideo;
model.estimateFaces
        ({
            input: inputElement,
            returnTensors: false,
            flipHorizontal: flipHorizontal,
            predictIrises: false
        }).then(predictions => {
	console.log(predictions);
	drawMask(predictions);
});
Return of predictions would look like:

For each of the facial landmark key point, it contains the location of the x, y axis and depth.
0: Array(3)
	0: 202.05661010742188
	1: 207.98629760742188
	2: -5.985757827758789
	length: 3
# Step 5 : Put the mask on
In the above function, we get 468 face landmark key points. For our face mask application, I utilize 4 of those landmarks:
- Forehead : 10
- Left Cheek : 234
- Chin : 152
- Right Cheek : 454

Then we can use those key points to calculate where we should overlay the face mask PNG image. We need to calculate 3 numbers below:
- The (x,y) location of the top-left corner for the mask image
- The width of the mask image
- The height of the mask image
Here is how I get the mask image with: use the Right Cheek landmark’s x axis value – Left Cheek landmark’s x axis value
maskWidth = (dots[rightCheekIndex].left - dots[leftCheekIndex].left) ;
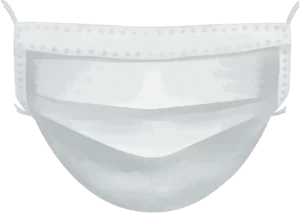
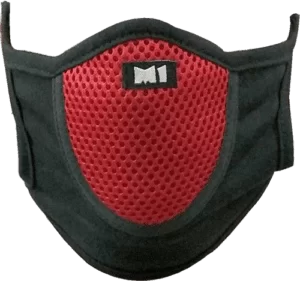
For the height and top-left corner location, there is difference between Half mask and Full mask.
| Mask Type | Top-left corner | Height |
|---|---|---|
| Full Mask | x: Forehead x axis value y: Left Cheek y axis value | Chin y axis value – Forehead y axis value |
| Half Mask | x, y : Left landmark’s x,y axis value | Chin y axis value – Left Cheek y axis value |
switch(maskType) {
  case 'full':
	maskCoordinate= { top: dots[foreheadIndex].top, left: dots[leftCheekIndex].left};
	maskHeight = (dots[chinIndex].top - dots[foreheadIndex].top) ;
	break;
  case 'half':
	maskCoordinate = dots[leftCheekIndex];
	maskHeight = (dots[chinIndex].top - dots[leftCheekIndex].top) ;
	break;
}
The last step is to overlay the face mask PNG image to the face.
maskElement = $("<img src='"+selectedMask.attr('src')+"' class='mask' />");
maskElement.appendTo($("#canvas"));
maskElement.css({
	top: maskCoordinate.top,
	left: maskCoordinate.left,
	width: maskWidth ,
	height: maskHeight,
	position:'absolute'
});
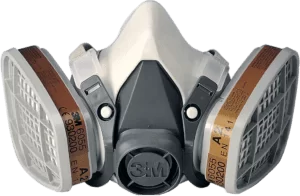
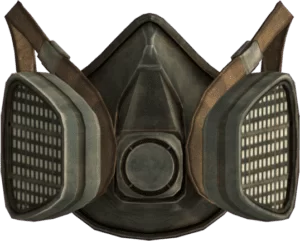
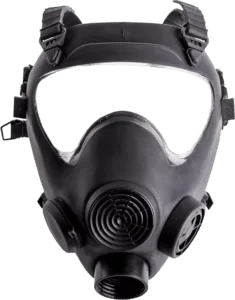
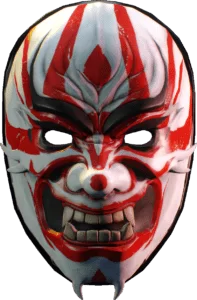
That’s pretty much for the code! Now choose your favorite mask and try it on yourself!

Conclusion
Facemesh model is designed for front-facing cameras on mobile devices, where faces in view tend to occupy a relatively large fraction of the canvas. MediaPipe Facemesh may struggle to identify far-away faces.
In conclusion, implementing face detection using JavaScript and the FaceMesh model allows us to create real-time mask applications. By leveraging this technology, we can emphasize the importance of wearing face masks during the pandemic. Together, let’s utilize the latest machine learning advancements to protect ourselves and fight against the spread of the virus.
Thank you for reading. If you like this article, please share on Facebook or Twitter. Let me know in the comment if you have any questions. Follow me on Medium, GitHub and Linkedin. Support me on Ko-fi.
10 Comments
Hello. It’s possible to change camera resolution? How it can be done? Thank you.
Hi Dear Benson why the facemask is not working
Hi, this is now fixed.
It was due to tfjs upgraded their version to 2.0
now I need to include https://cdn.jsdelivr.net/npm/@tensorflow/tfjs-backend-webgl in the header script
Hi Dear Benson, why I get a erro “Fail to load face mesh model Please refresh the page to try again”
Can you help me, please?
Hi, this is now fixed after upgraded to tfjs version 2.4.0, please try again
Hi Benson, I couldn’t test your work, is it failing right now?
Hi, this is now fixed after upgraded to tfjs version 2.4.0, please try again
Great content! Keep up the good work!
Thanks so much! I really appreciate your support.
Happy everyday!